

Step 1: Competitors
Choose the brands you want to be compared against. During a scan, Onsomble asks AI assistants questions about your industry and checks how often they mention you compared to these brands. That comparison is what your Share of Voice and competitive ranking are based on.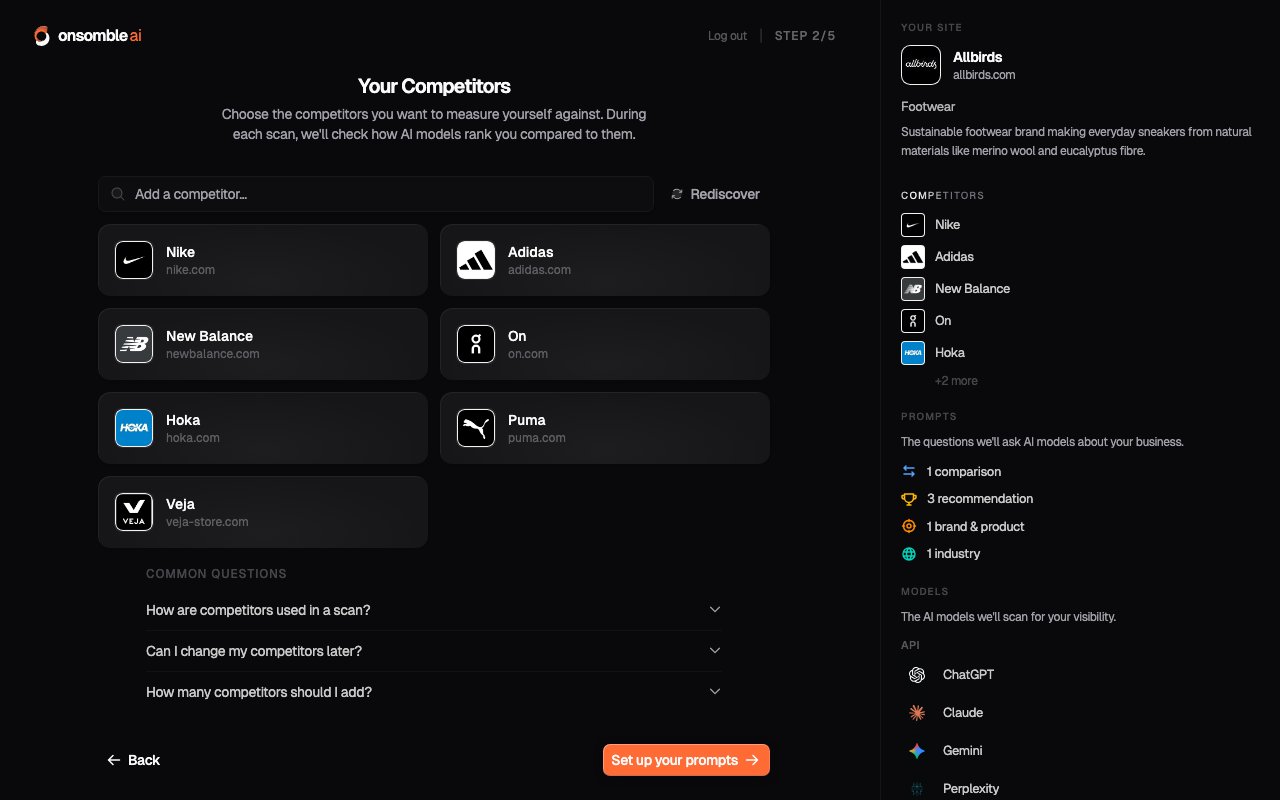
- Add anyone missing. Type a name into the search box. You know who you actually compete with better than any suggestion does.
- Remove anyone that doesn’t belong. A brand that isn’t really a rival just adds noise to your results.
- Select Rediscover for a fresh set of suggestions if the starting list is thin.
Step 2: Prompts
Prompts are the questions Onsomble asks AI assistants during a scan. Whatever the assistant says back is what gets measured: whether it recommends you, a competitor, or someone else entirely. Prompts decide what a scan is actually testing, so they’re worth getting right.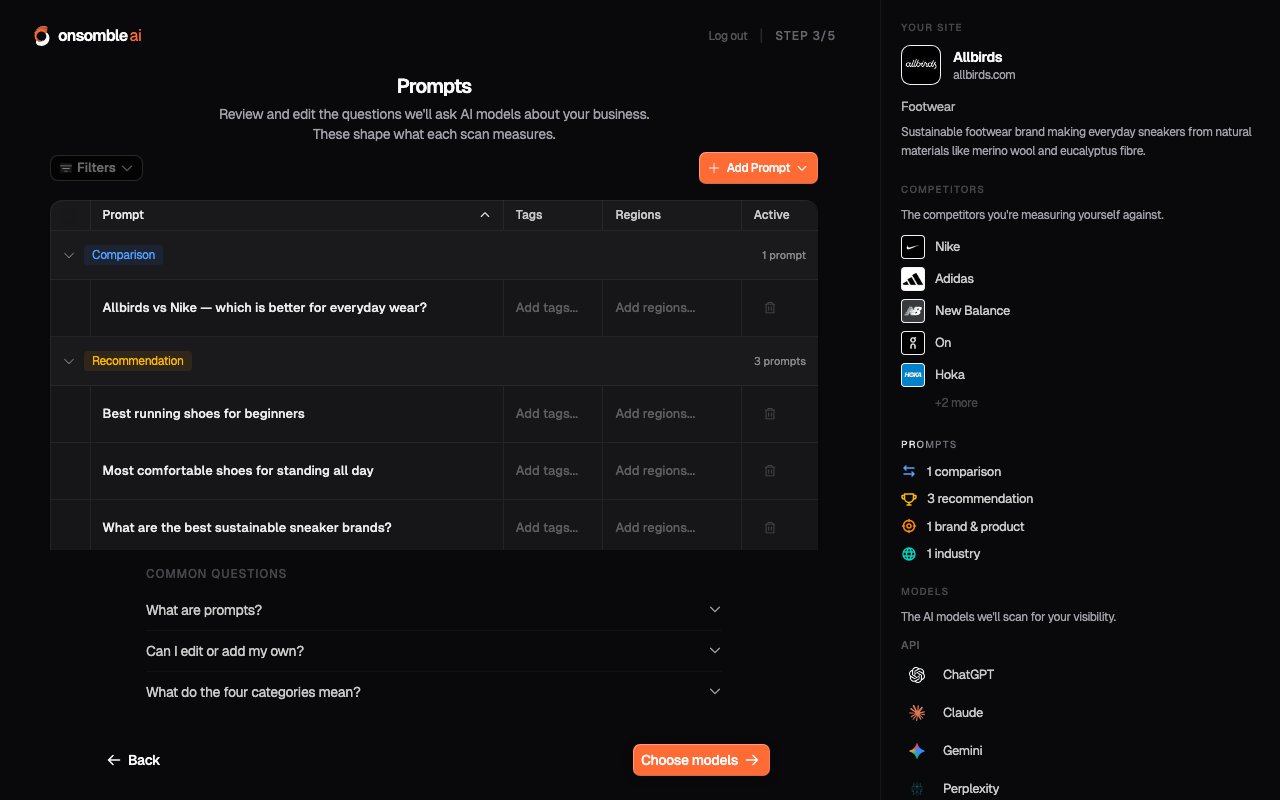
- Comparison: a head-to-head question, like “Allbirds vs Nike for everyday wear”. Shows where you stand against a named rival.
- Recommendation: an open question from someone who hasn’t chosen yet, like “best running shoes for beginners”. Shows whether you get recommended at all.
- Specific: a question about one particular product or feature you offer.
- General: a broader question about your industry or category.
- Edit any prompt so it reads like a real question, not a generated one.
- Remove ones that miss the mark, and use Add Prompt to write your own.
- The strongest prompts are the questions a customer asks right before they decide. If you’re setting this up for a client, a five-minute conversation with them usually turns up prompts you’d never have written on your own.
Step 3: Models
Choose which AI assistants the scan asks. Each one answers differently, so asking a mix gives you a fuller picture than relying on just one.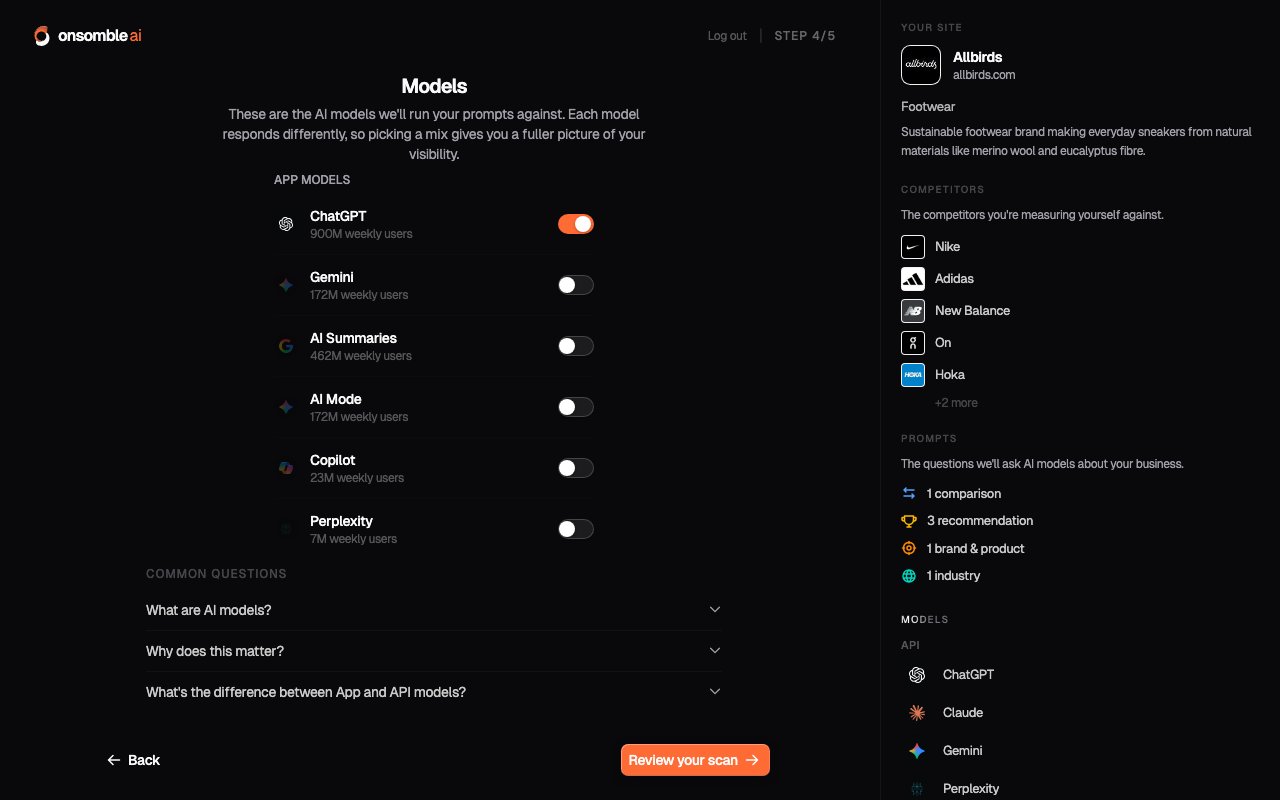
App models
These are the assistants someone opens and talks to directly: the ChatGPT app, the Gemini app, Perplexity, Google’s AI answers, Copilot. This is a person sitting down and asking an AI assistant for a recommendation in their own words. These apps add their own layer on top of the AI underneath: live web browsing, their own instructions, their own way of choosing sources. So an app’s answer can differ from the raw AI’s answer, and it reflects what’s on the web right now. Scanning app models shows how you look to a customer using AI directly.API models
These are the same AI engines (the ones behind ChatGPT, Claude, Gemini, and Perplexity) used by other companies to power features in their own products. When a retailer’s shopping assistant, a comparison site, or a chatbot on someone else’s website answers a question, it’s usually one of these underneath. Scanning API models shows how you look everywhere AI has quietly been built into other products, not just when a customer opens an assistant themselves. As more apps and websites add AI features, this is a growing share of where people actually run into recommendations.Choosing a mix
Turn on the assistants your customers actually use, from either group. The usage figure next to each one is there to help you judge where visibility matters most. Every model you add makes the scan broader, but also longer and a bigger draw on your plan’s scan allowance, so pick a considered mix rather than everything at once. Select Review your scan to continue.Step 4: Review and launch
The last step lays out the whole scan in one place: how often it runs, who it compares you against, what it asks, and which assistants it asks. This is your last chance to see the real size of the run before it starts.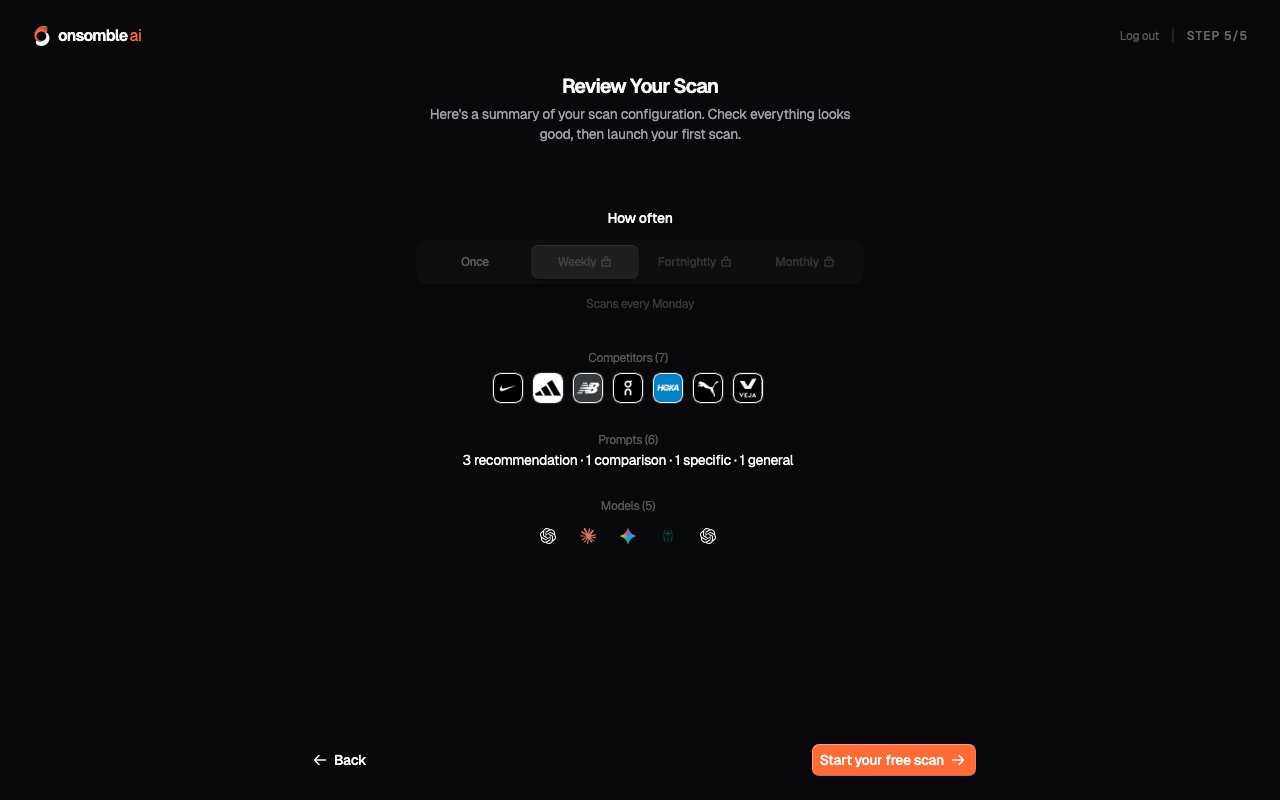
Your very first scan on Onsomble is free, with no card required. Every scan
after that draws on your plan’s allowance. If the scan you’ve configured needs
more than your plan allows, Onsomble tells you before you launch: trim the
number of prompts to fit, or upgrade for a larger allowance. The launch button
stays disabled until the scan fits.
After you launch
The scan runs in the background. The Site’s insights pages show a progress banner and fill in as soon as it finishes. After that, you make any of these same changes from the Scan Settings group in the Site’s sidebar, and they apply from the next scan onward.What’s next
How scans work
What a scan is made of and what it produces.
Understanding results
How to read what comes back once the scan finishes.